Advanced Tips and Tricks
Expert Advice from Pastry Chefs
When it comes to achieving the perfect cake batter, sometimes it pays to lean on the wisdom of the pros. Many pastry chefs swear by one crucial tip: add a small amount of the dry ingredients when mixing in the wet. This technique can prevent the dreaded emulsion break that often leads to a curdled appearance.
By incorporating just a few tablespoons of flour or sugar as you begin to add your eggs or liquid ingredients, you can stabilize the mixture. This not only helps in keeping the batter uniform but also enhances the texture of the baked cake, giving it a finer crumb.
Tools That Can Help
Let’s not forget the role of the right tools in achieving that dreamy batter consistency. A sturdy whisk or an electric mixer with a paddle attachment can make a significant difference. These tools help in evenly mixing the batter without needing excessive force that could potentially toughen your cake.
For those tricky moments when lumps seem inevitable, a rubber spatula is invaluable. It allows you to scrape the sides of the bowl effectively, ensuring that every bit of ingredient is well incorporated. Furthermore, using a spatula to fold in the ingredients can help minimize the risk of overmixing while still ensuring a smooth mixture.
By incorporating these advanced techniques and tools into your baking routine, you are better equipped to handle any batter-related challenges that come your way. With practice and patience, you’ll find that making smooth, lump-free cake batter becomes second nature.
Storing and Serving Tips
Additional Tips for Perfect Cakes
Beyond achieving a smooth batter, there are a few more tips that can elevate your baking game to professional levels. Let’s explore some additional strategies to ensure your cakes are not just lump-free but also spectacularly delicious.
Ensure Even Baking
To prevent uneven baking, which can affect the texture and appearance of your cake, make sure to rotate your cake halfway through the baking time if your oven has hot spots. This helps in achieving a uniformly baked cake with a consistent texture throughout.
Test for Doneness Properly
Knowing when your cake is perfectly baked is crucial. Use a toothpick or a cake tester and insert it into the center of the cake. If it comes out clean or with just a few crumbs attached, your cake is ready. Avoid overbaking, as it can dry out your cake and make it tough.
Cooling is Key
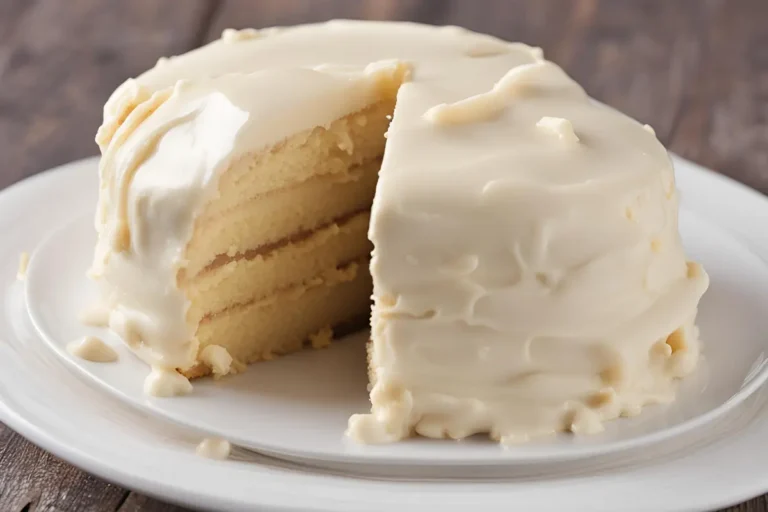
It is crucial to properly chill your cake once it has been made. Allow your cake to cool in the pan on a wire rack for about 10-15 minutes before attempting to remove it. This helps the cake set and reduces the risk of breaking. Afterward, remove from the pan and let it cool completely on the rack before frosting. Rushing this process can lead to a cake that crumbles or breaks.
When applying frosting, make sure the cake is completely cool to prevent the frosting from melting. Start with a crumb coat — a thin layer of frosting that seals in crumbs — and chill the cake briefly before adding the final, thicker layer of frosting. This ensures a clean, professional finish.
By incorporating these additional tips into your baking routine, you’ll not only manage to create cakes with smooth, lump-free batter but also present beautifully baked and decorated desserts that are sure to impress. Keep practicing, stay curious, and let your culinary creativity lead the way.
Conclusion
Baking the perfect cake is as much about the technique as it is about passion and patience. From ensuring your ingredients are at the right temperature to mastering the art of mixing, every step you take is a building block towards the flawless finish of your culinary creation. Remember, even seasoned bakers occasionally face the challenge of butter lumps in their batter, but with the right knowledge and tools, these can easily be managed.
Embrace these techniques and keep experimenting with your recipes. Each baking session is an opportunity to refine your skills and maybe even discover new tricks of the trade. Happy baking, and may your cakes always rise to the occasion with a smooth, lump-free batter as their foundation!
FAQs (People Also Ask)
How to ensure butter is at the perfect temperature for baking?
Getting your butter to the perfect temperature is crucial for a smooth batter. Ideally, butter should be left out at room temperature for about an hour before you start baking. It should be soft enough to leave an indentation when pressed, but not so soft that it’s beginning to melt. This ensures it creams well with sugar, integrating air and giving the cake its light texture.
What to do if cake batter curdles?
If your cake batter curdles, don’t panic. One effective solution is to add a small amount of flour to stabilize the mixture. Continue mixing on a low speed, and you’ll often find that the batter returns to a smooth consistency. Remember, slight curdling may not necessarily ruin your cake—it can still bake up nicely.
Can overmixing affect the texture of the cake?
Yes, overmixing can severely impact the texture of your cake. Overworked batter develops excess gluten, leading to a dense, tough cake. To avoid this, mix just until the ingredients are combined and no dry spots remain. Using a gentle folding motion instead of vigorous stirring can help maintain the batter’s lightness.
Is it necessary to sift flour before adding it to cake batter?
Sifting flour is a highly recommended step. It not only helps to remove any potential clumps but also aerates the flour, making it lighter. This aeration helps in achieving a more uniform and smooth batter, which translates into a lighter, airier cake texture.
By addressing these frequently asked questions, you can avoid common pitfalls and ensure that your baking process is as smooth as your cake batter. Each step and technique contributes to the overall success of your baking endeavors, making each slice of cake a testament to your skills and attention to detail.