Introduction to Making Peanut Butter Cake
Ready to whip up something truly delightful? This article will guide you through the nitty-gritty of how to make peanut butter cake, a favorite treat for all ages. We’ll dive into every step—from gathering your ingredients to the final flourish of frosting. Whether you’re a novice baker or a seasoned pro, these tips and tricks will ensure your peanut butter cake is not only delicious but also a showstopper at any gathering. Let’s get baking and make your kitchen smell like peanut butter paradise!
Ingredients and Tools Needed
Gathering Ingredients for Your Peanut Butter Cake Recipe
Starting on the right foot means having all your ingredients ready. Here’s what you’ll need for a classic peanut butter cake:
- All-purpose flour: is the base of your cake structure.
- Baking powder & Baking soda: For that perfect rise.
- Salt: Just a pinch to balance the sweetness.
- Vegetable oil and peanut butter: For a moist and rich flavor.
- Brown sugar: Adds a deep, caramel-like sweetness.
- Eggs: To bind everything together nicely.
- Buttermilk or a homemade substitute (milk + lemon juice): Ensures the cake is tender.
- Vanilla extract: A dash enhances all other flavors.
For those with dietary restrictions, consider swapping out regular flour for a gluten-free option or using a vegan peanut butter brand.
Essential Baking Tools for Peanut Butter Cake
Before you start mixing, make sure you have the right tools on hand. Here’s the essential toolkit for baking a flawless peanut butter cake:
- Mixing bowls: Different sizes for wet and dry ingredients.
- Measuring cups and spoons: Precision is key!
- Electric mixer or a strong whisk: For a smooth, well-combined batter.
- Spatula: To fold your ingredients gently.
- Cake pans: Typically, two 8-inch round pans.
- Cooling rack: Essential for letting your cake cool properly.
Baking and Cooling
Baking Your Peanut Butter Cake to Perfection
Now that your batter is smooth and ready, it’s time to bake it into a scrumptious peanut butter cake. Follow these steps to ensure it comes out just right:
- Preheat Your Oven: Before anything else, make sure to preheat your oven to 350°F (175°C). A properly heated oven is crucial for even baking.
- Bake the Cake: Place your cake pans in the center of the oven. Bake for about 25-30 minutes. The exact time can vary depending on your oven, so it’s wise to start checking at the 25-minute mark. The cake is done when a toothpick inserted into the center comes out clean or with just a few crumbs attached.
- Cooling: Once baked, remove the cakes from the oven and let them cool in the pans for 10 minutes. After that, move them to a wire rack to finish cooling. This step is vital as it prevents the cake from becoming soggy from condensation.
Preparing for Frosting
With the cake cooled, you’re nearly ready to add that creamy peanut butter frosting. Here’s what to do next:
- Check Cake Texture: Ensure the cake is completely cool and firm enough to handle. This makes it easier to spread the frosting without breaking the cake.
- Trim if Necessary: If the tops of your cakes have domed a bit, you can trim them flat with a serrated knife for a more professional look.
Frosting and Decoration
Crafting the Perfect Peanut Butter Frosting
It’s time to add that irresistible layer of sweetness to your cake with some homemade peanut butter frosting. Here’s how to make it perfectly creamy and spreadable:
- Ingredients: For the frosting, you will need unsalted butter, powdered sugar, vanilla extract, and of course, peanut butter. Make sure all ingredients are at room temperature to ensure a smooth texture.
- Mixing the Frosting: In a large mixing bowl, beat the softened butter and peanut butter together until creamy. Gradually add powdered sugar, half a cup at a time, beating well after each addition. Add a splash of vanilla extract and continue to mix until the frosting is light and fluffy. If the frosting is too thick, you can add a tablespoon of milk to reach the desired consistency.
- Taste and Adjust: Give your frosting a taste and adjust the sweetness or peanut butter flavor to suit your preference. The frosting should be silky and not too stiff, making it easy to spread.
Artfully Decorating Your Peanut Butter Cake
Now that your frosting is ready, let’s get creative with the decoration:
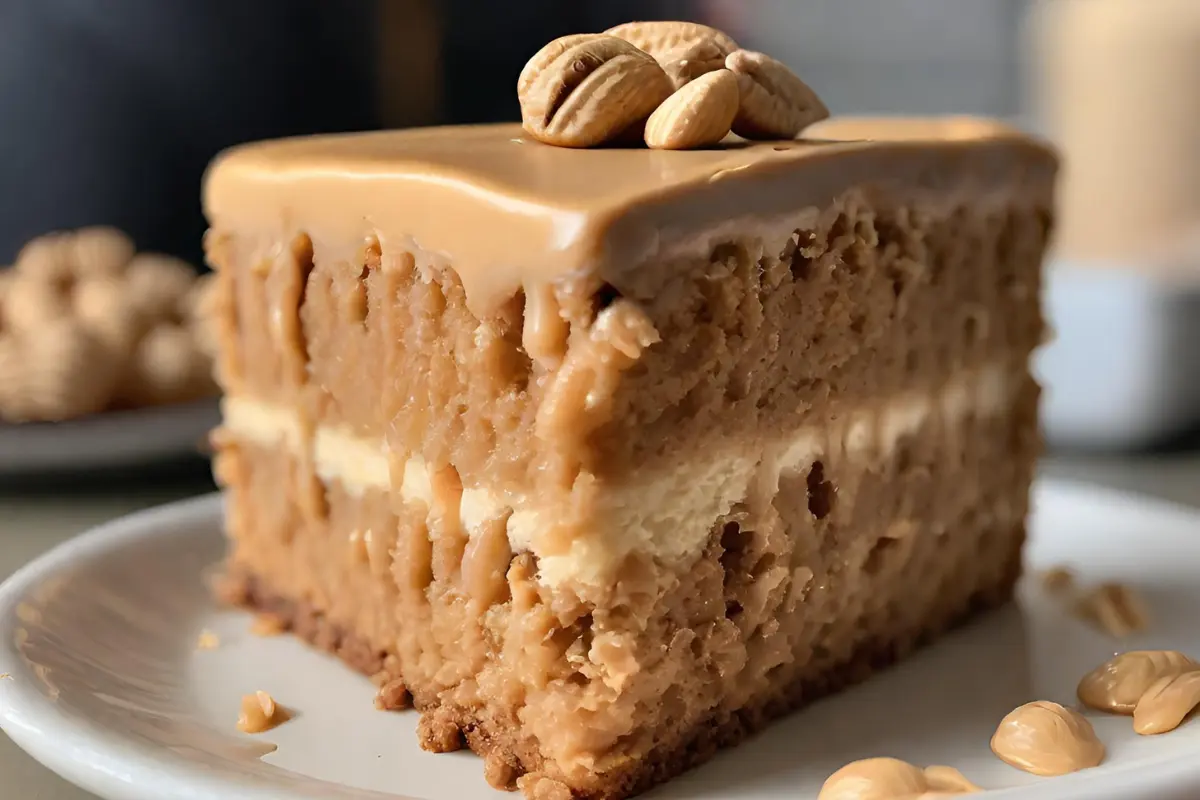
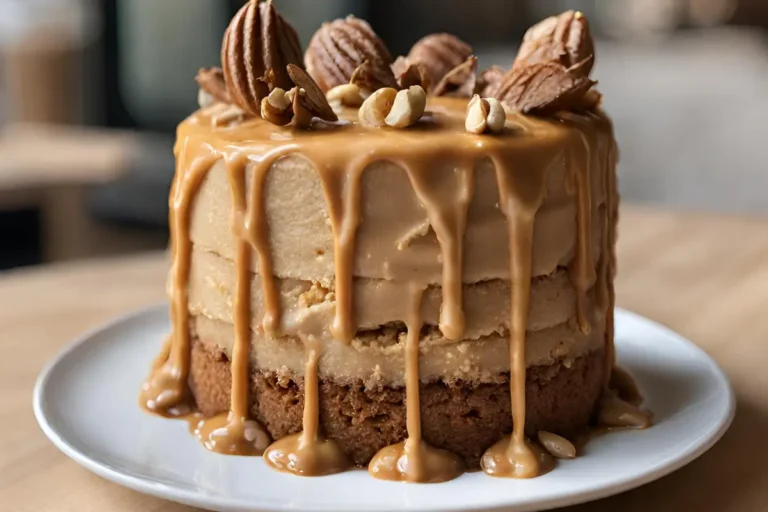
- Applying the Frosting: Use a spatula to spread an even layer of frosting over the top of one of the cake layers. Place the second layer on top, and then frost the top and sides of the entire cake.
- Smooth or Textured: You can smooth the frosting with a knife or spatula for a clean look, or use the back of a spoon to create swirls and peaks for a more rustic, homemade appearance.
- Add Toppings: For an extra touch of flair, sprinkle chopped peanuts, chocolate shavings, or even a drizzle of melted peanut butter on top of the cake.
Variations and Serving
Exploring Variations of Peanut Butter Cake
Peanut butter cake is wonderfully versatile, allowing for various tweaks to suit different tastes or dietary needs. Here are some ideas to inspire your next baking session:
- Vegan Version: Swap out traditional ingredients for vegan-friendly alternatives. Use plant-based milk, vegan butter, and egg substitutes such as flax eggs or applesauce to make your cake and frosting.
- Gluten-Free Option: Replace all-purpose flour with a gluten-free flour blend to cater to those with gluten sensitivities. Make sure to check that your baking powder and other additives are gluten-free as well.
- Add-Ins and Toppings: Mix things up by adding chocolate chips, banana slices, or even a layer of jam between the cake layers for added flavor and texture. For a crunchier texture, sprinkle crushed peanuts or pretzels on top.
- Flavor Twists: Introduce a hint of cinnamon or nutmeg to the batter, or replace the vanilla extract in the frosting with maple extract for a unique twist.
Serving Suggestions for Peanut Butter Cake
Serving your peanut butter cake beautifully is just as important as how it tastes. Here are some tips to make your cake a hit at any gathering:
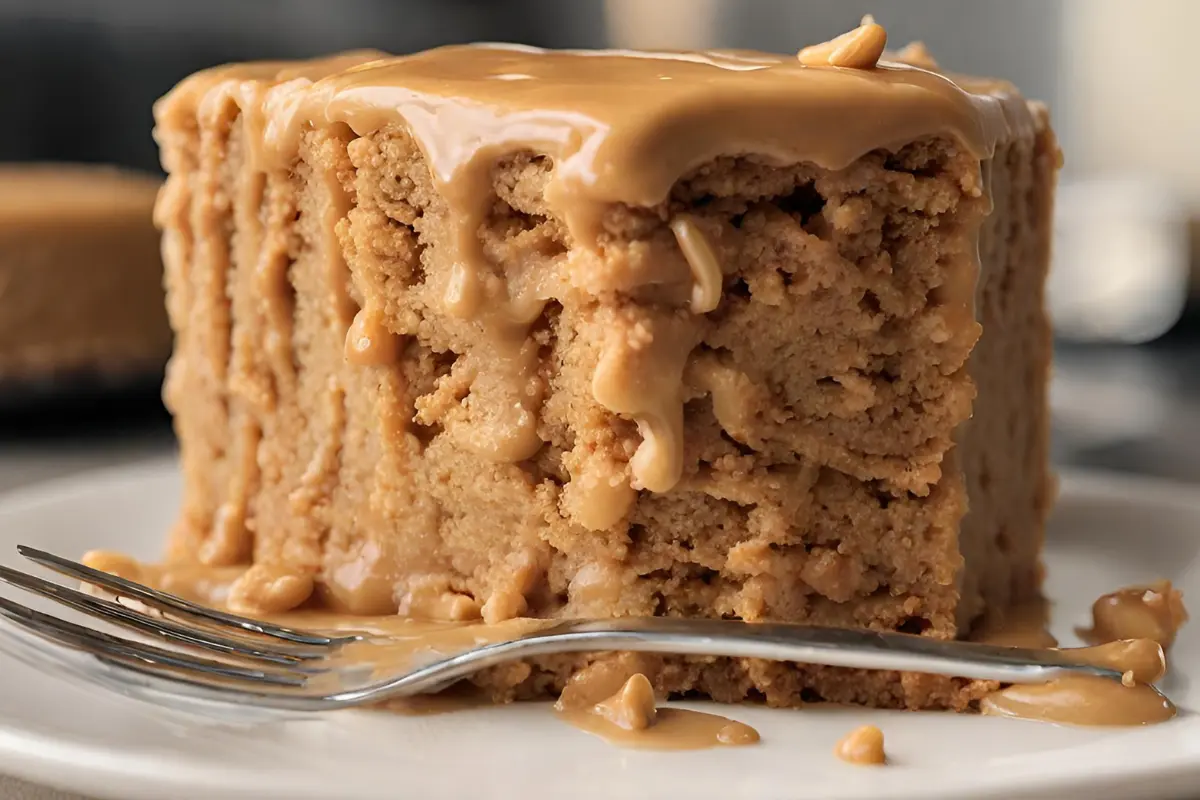
- Presentation: Serve your cake on a decorative cake stand or a colorful plate to enhance its visual appeal. A dollop of whipped cream on the side or a scoop of ice cream can also elevate the serving style.
- Pairing: Peanut butter cake pairs wonderfully with coffee, tea, or a glass of milk. For adult gatherings, a dessert wine that complements the sweetness of the cake can be a classy touch.
- Portion Size: If serving at a large event, consider cutting the cake into smaller squares. This makes it easier for guests to grab a piece without commitment to a large slice.
- Storage: If you have leftovers, peanut butter cake can be stored in an airtight container at room temperature for a couple of days or in the refrigerator for up to a week.
By exploring these variations and serving suggestions, you can continuously reinvent this delightful treat to keep it exciting and new. Whether adapting the recipe to meet dietary requirements or dressing it up for a special occasion, peanut butter cake remains a versatile and beloved dessert.
Serving Suggestions
Serving your peanut butter cake beautifully is just as important as how it tastes. Here are some tips to make your cake a hit at any gathering:
- Presentation: Serve your cake on a decorative cake stand or a colorful plate to enhance its visual appeal. A dollop of whipped cream on the side or a scoop of ice cream can also elevate the serving style.
- Pairing: Peanut butter cake pairs wonderfully with coffee, tea, or a glass of milk. For adult gatherings, a dessert wine that complements the sweetness of the cake can be a classy touch.
- Portion Size: If serving at a large event, consider cutting the cake into smaller squares. This makes it easier for guests to grab a piece without commitment to a large slice.
- Storage: If you have leftovers, peanut butter cake can be stored in an airtight container at room temperature for a couple of days or in the refrigerator for up to a week.
By exploring these variations and serving suggestions, you can continuously reinvent this delightful treat to keep it exciting and new. Whether adapting the recipe to meet dietary requirements or dressing it up for a special occasion, peanut butter cake remains a versatile and beloved dessert.
Celebrating Your Peanut Butter Cake
Hosting a Peanut Butter Cake Party
Once you’ve mastered the art of baking the perfect peanut butter cake, why not share the joy? Hosting a peanut butter cake party can be a fantastic way to celebrate your baking success and share delicious treats with friends and family. Here’s how to make it a hit:
- Invitations: Send out fun, themed invitations that set the tone for a sweet gathering. You can use online platforms to create and send digital invites.
- Decor: Decorate your space with a baking theme, using pastel colors and kitchen-related items. Consider setting up a display table for the cake as the centerpiece.
- Activities: Plan a few light activities, like a mini baking demo where you share some tips and tricks, or even a tasting contest where guests can vote on different variations of peanut butter cakes.
- Favors: Send guests home with a small box of peanut butter cake or a jar of homemade peanut butter as a thank-you gift.
Sharing Your Success
Baking is more fun when you can share your creations and the knowledge you’ve gained. Consider these options to spread the love:
- Social Media: Share pictures of your peanut butter cake on social media platforms. Use hashtags to join baking-related conversations and inspire others.
- Baking Blogs or Websites: Write about your experience and share your recipe online. This can be a great way to connect with other baking enthusiasts and exchange tips.
- Community Events: Look for local baking competitions or charity events where you can contribute your cake. It’s a great way to meet new people and support good causes.
By taking these steps, you not only get to enjoy the fruits of your labor but also inspire and engage with others who share your passion for baking. Celebrate every slice of your peanut butter cake and keep the oven warm for your next delicious project!